Epoxy Floor Paint – Best Colours, Finishes & Buying Guide
Epoxy floor paint gives you the look and toughness of a full epoxy system without the cost of a trowelled, multi-layer build. It’s a two-part coating, roller-applied straight onto prepared concrete, that cures into a hard, seamless surface tough enough for garages, workshops, and living spaces alike. For Townsville homeowners weighing up their flooring options, epoxy floor paint sits in a sweet spot: more durable than a standard concrete sealer, more affordable than a full flake or quartz system, and within reach of a confident DIYer once the prep work is done properly. This guide covers what epoxy floor paint actually is, how the different types compare, what it costs, and where a professional application earns its keep.
If you want to compare flooring systems, our complete guide to Epoxy Flooring Townsville explains the different epoxy finishes, installation methods, costs, and where each system performs best.
What Is Epoxy Flooring?
Epoxy flooring covers a family of resin-based epoxy coatings for concrete floors, and epoxy floor paint is the roll-on end of that family. Like every epoxy system, it starts as two components: a resin and a hardener that react once combined, in a process called polymerisation, to form a solid, chemically resistant film. The paint version differs from a full trowelled or self-levelling system mainly in film thickness. It goes on in one or two coats at a few hundred microns, while a full build coat can be several millimetres thick with a broadcast layer of flake or quartz added in.
That thinner film still does a genuinely useful job. It seals the surface of the concrete, stops the fine dust that untreated concrete sheds as it wears (a problem tradespeople call dusting), and resists oil, most household chemicals, and general foot traffic far better than a bare or painted slab. The relationship between epoxy and concrete matters more than most homeowners expect, since this kind of coating bonds directly into the prepared surface rather than sitting on top of it the way ordinary paint does, which is why surface preparation matters so much before a single coat goes on. For garages, sheds, and indoor living spaces where a full industrial build isn’t necessary, it’s often the more sensible choice.
Epoxy Floor Paint Colours: Choosing the Right Look
Colour is usually the first decision homeowners make, and most epoxy floor paint ranges give you two broad directions to go. Practical mid-to-dark greys dominate garage and workshop applications because they hide tyre marks, dust, and general grime between cleans, and they suit almost any shed or garage without clashing with tools, cabinetry, or parked vehicles. Lighter greys and off-whites work well in showrooms or living spaces where you want a brighter, more open feel, though they show dirt more readily and need a bit more upkeep.
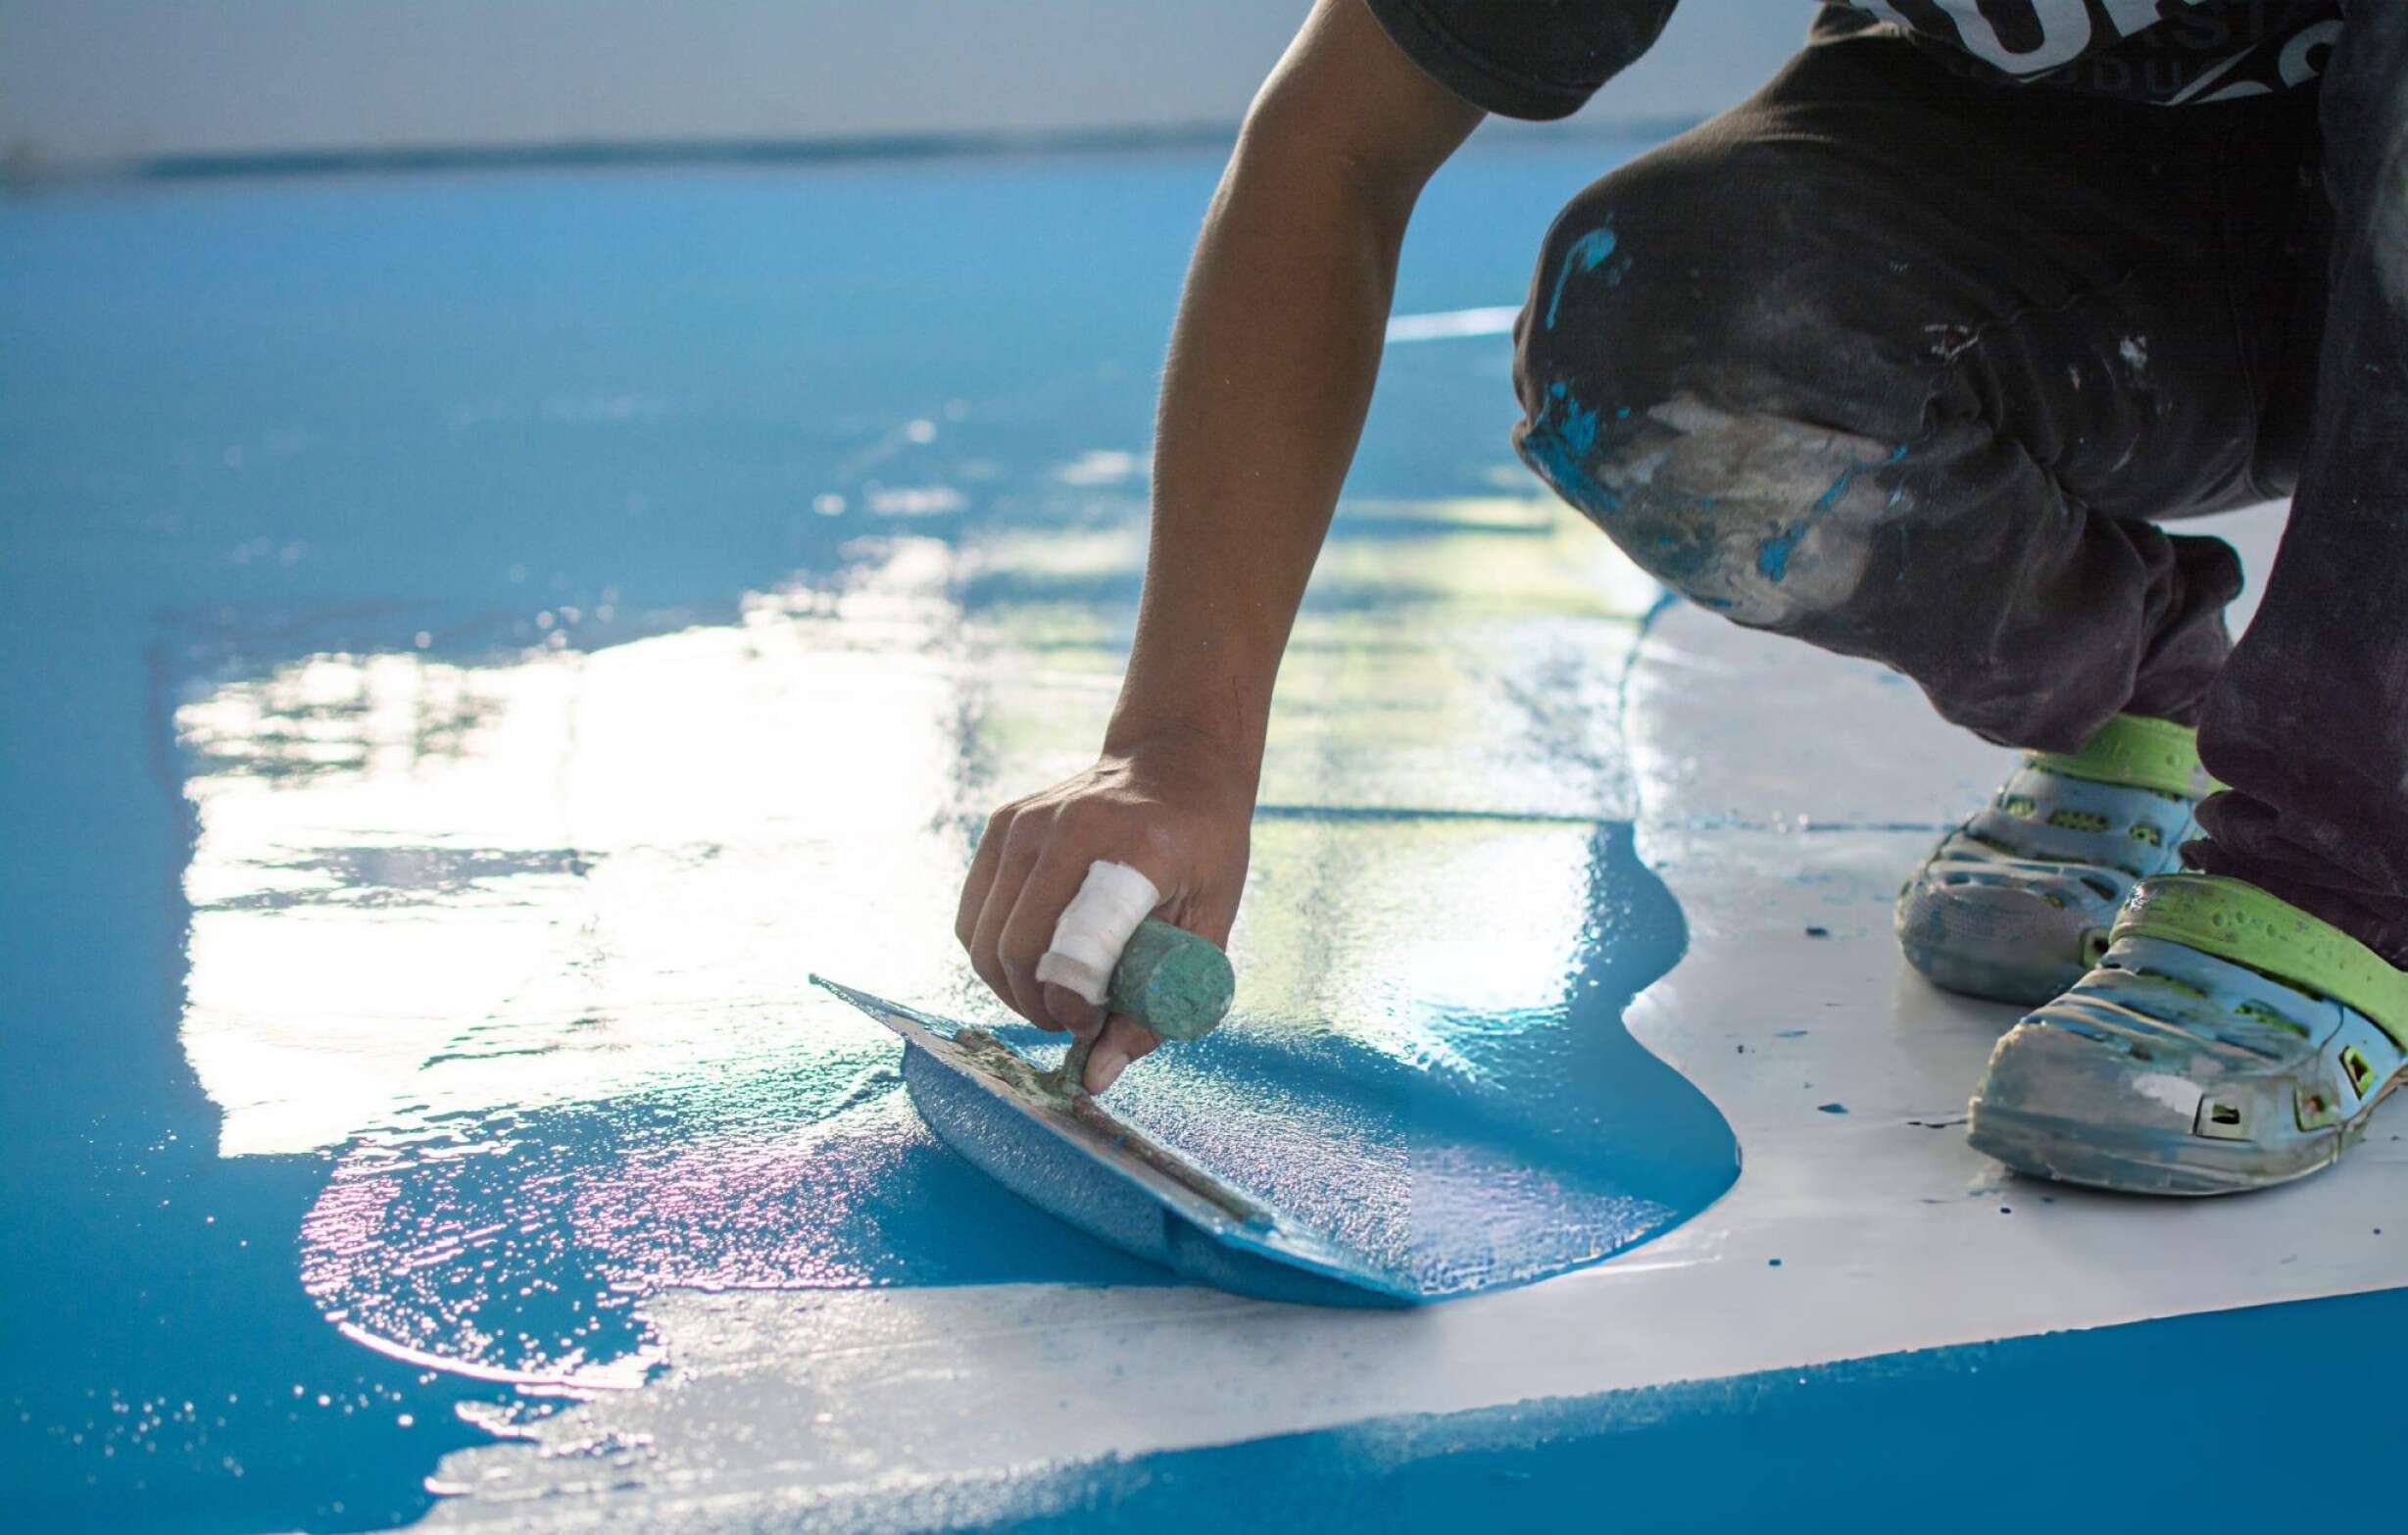
For anyone after more personality, brighter accent colours, blues, greens, reds, and yellows among them, turn up in most manufacturer ranges and work well for feature areas, line marking, or spaces that double as a workshop and a hangout zone. Metallic epoxy is a step up again: mineral pigments suspended in a clear or lightly tinted base create a rippled, marbled effect that looks genuinely different in every pour, and it’s popular for showroom floors and statement garages.
Sheen is worth thinking about alongside colour. Most epoxy floor paints cure to a satin or gloss finish, and gloss shows off colour and depth beautifully but highlights every scuff and roller mark in the process, while a lower sheen is more forgiving day to day. If you’re matching an existing colour scheme, always test a sample patch on your own slab rather than trusting a swatch or a screen, since the concrete’s own colour, the lighting in the room, and the number of coats applied all affect the final shade.
How Epoxy Floor Paint Works
Every epoxy floor paint starts the same way: a resin (Part A) and a hardener (Part B) mixed in a set ratio, commonly around three parts resin to one part hardener depending on the product. Once combined, you’re working against the clock. Pot life, the window before the mixed epoxy starts thickening in the tin, is typically only about 20 minutes, which is why manufacturers recommend mixing small batches rather than one big batch for a whole garage.
Not all epoxy floor paint is built the same way, and the type affects how it performs once it’s down and what it’s best suited to.
Type
Odour & VOCs
UV Stability
Best Suited For
Water-based epoxy
Low odour, easy water clean-up
Not UV stable without a topcoat
Garages, living areas, damp-prone slabs
Solvent-based epoxy
Stronger fumes, needs good ventilation
Varies by product
Higher-build indoor coatings
100% solids epoxy
Minimal solvent smell, thicker film
Not UV stable without a topcoat
Workshops, warehouses, heavy traffic
Concrete porosity also affects how the job goes. A simple test, dripping a few drops of water onto clean concrete and timing how long it takes to soak in, tells you a lot. If it disappears within about 90 seconds, the slab is porous enough for the coating to key into directly. If it beads up and sits there longer, the surface needs an epoxy primer first or the topcoat risks poor adhesion. Coverage generally works out to somewhere between 4 and 6 square metres per litre per coat, with the first coat typically using a little more product than the second as it soaks into the concrete.
Our Epoxy Floor Paint Process, Step by Step
A proper epoxy floor paint job follows the same broad sequence whether it’s a single garage bay or a full workshop floor.
Test and inspect. We check the concrete’s condition, run a porosity test, and look for cracks, previous coatings, or contamination before quoting.
Clean and repair. Oil, grease, and loose material get removed, and any cracks or holes are filled and levelled off.
Prime if needed. Porous or previously bare concrete gets a penetrating primer first so the base coat has something consistent to grip.
Mix in small batches. Part A and Part B are combined in the correct ratio, mixed thoroughly, and used within the pot life window.
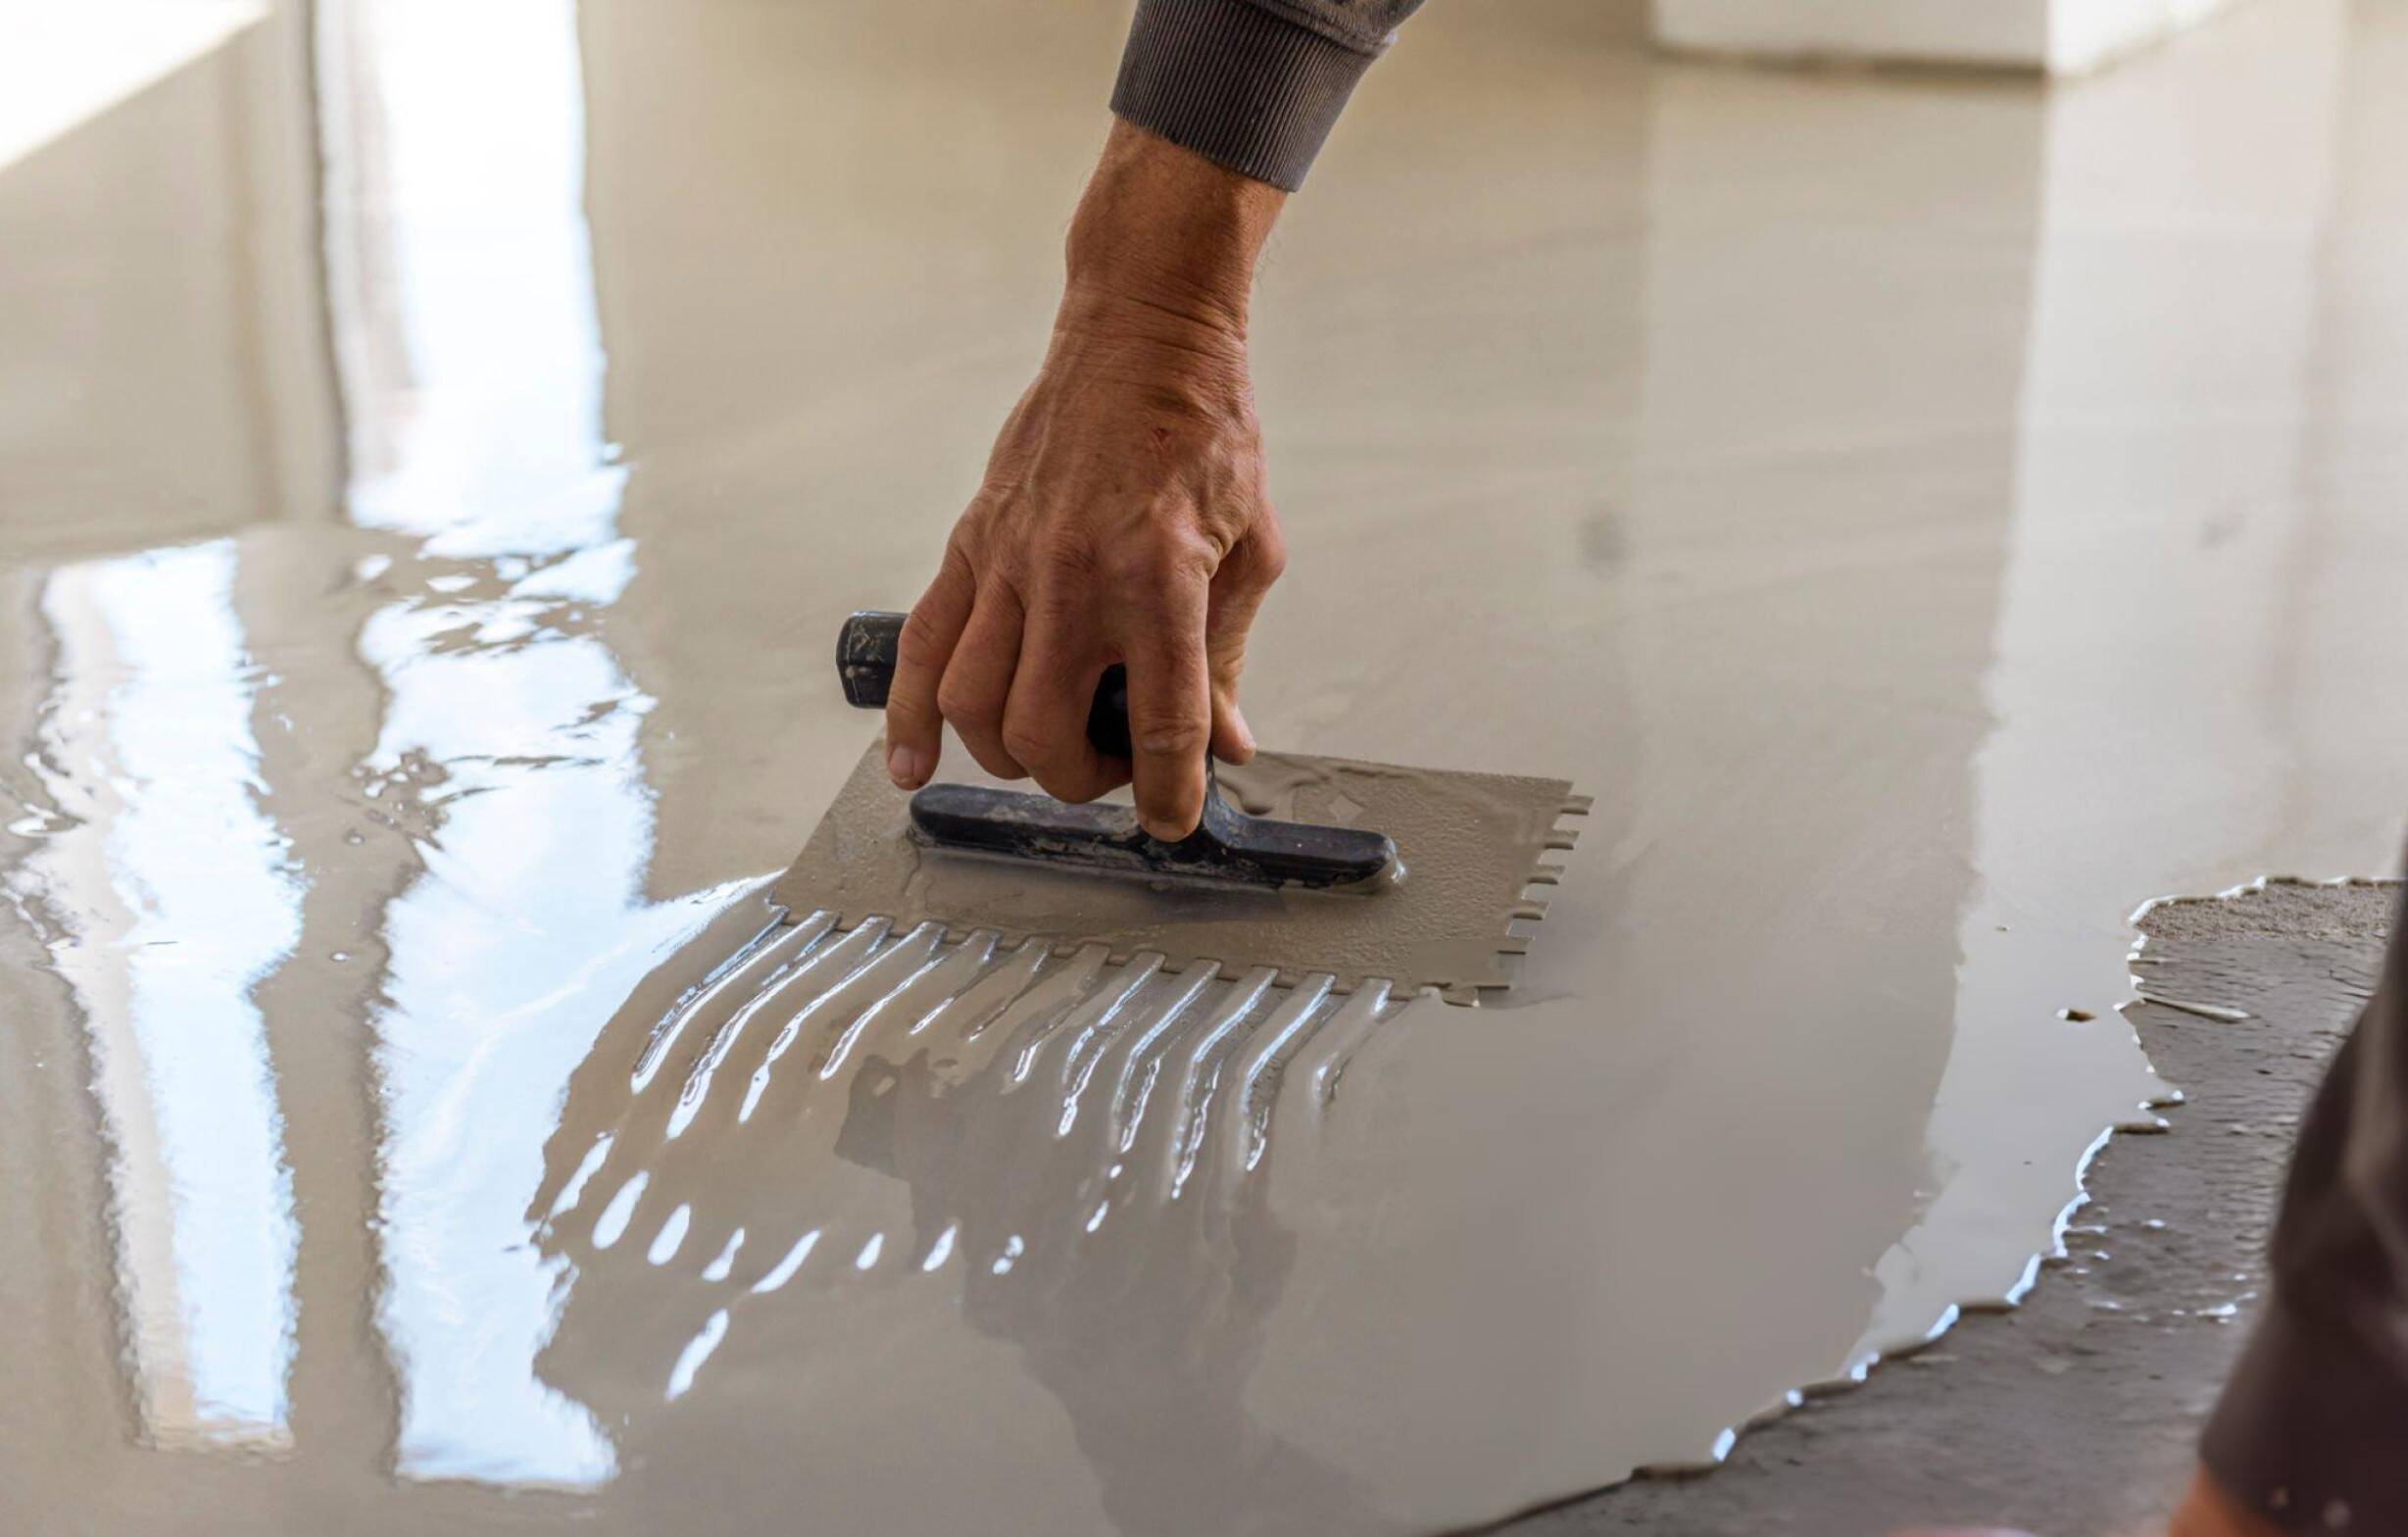
Apply the first coat. We roll the epoxy on evenly, working in manageable sections to keep a wet edge and avoid lap marks.
Recoat within the window. The second coat usually goes on within 16 to 24 hours; if it’s left longer than that, we lightly sand and vacuum first.
Apply the second coat. This builds the final colour, sheen, and durability.
Let it cure properly. Light foot traffic is usually fine after 24 hours, but we recommend keeping vehicles off for a minimum of 10 days.
Skipping steps, especially the porosity test and the wait between coats, is where most epoxy floor paint jobs go wrong. A coat applied too soon over a tacky first layer, or over concrete that was never tested for moisture, tends to show its problems within weeks rather than years.
Why Homeowners Choose Professional Installation
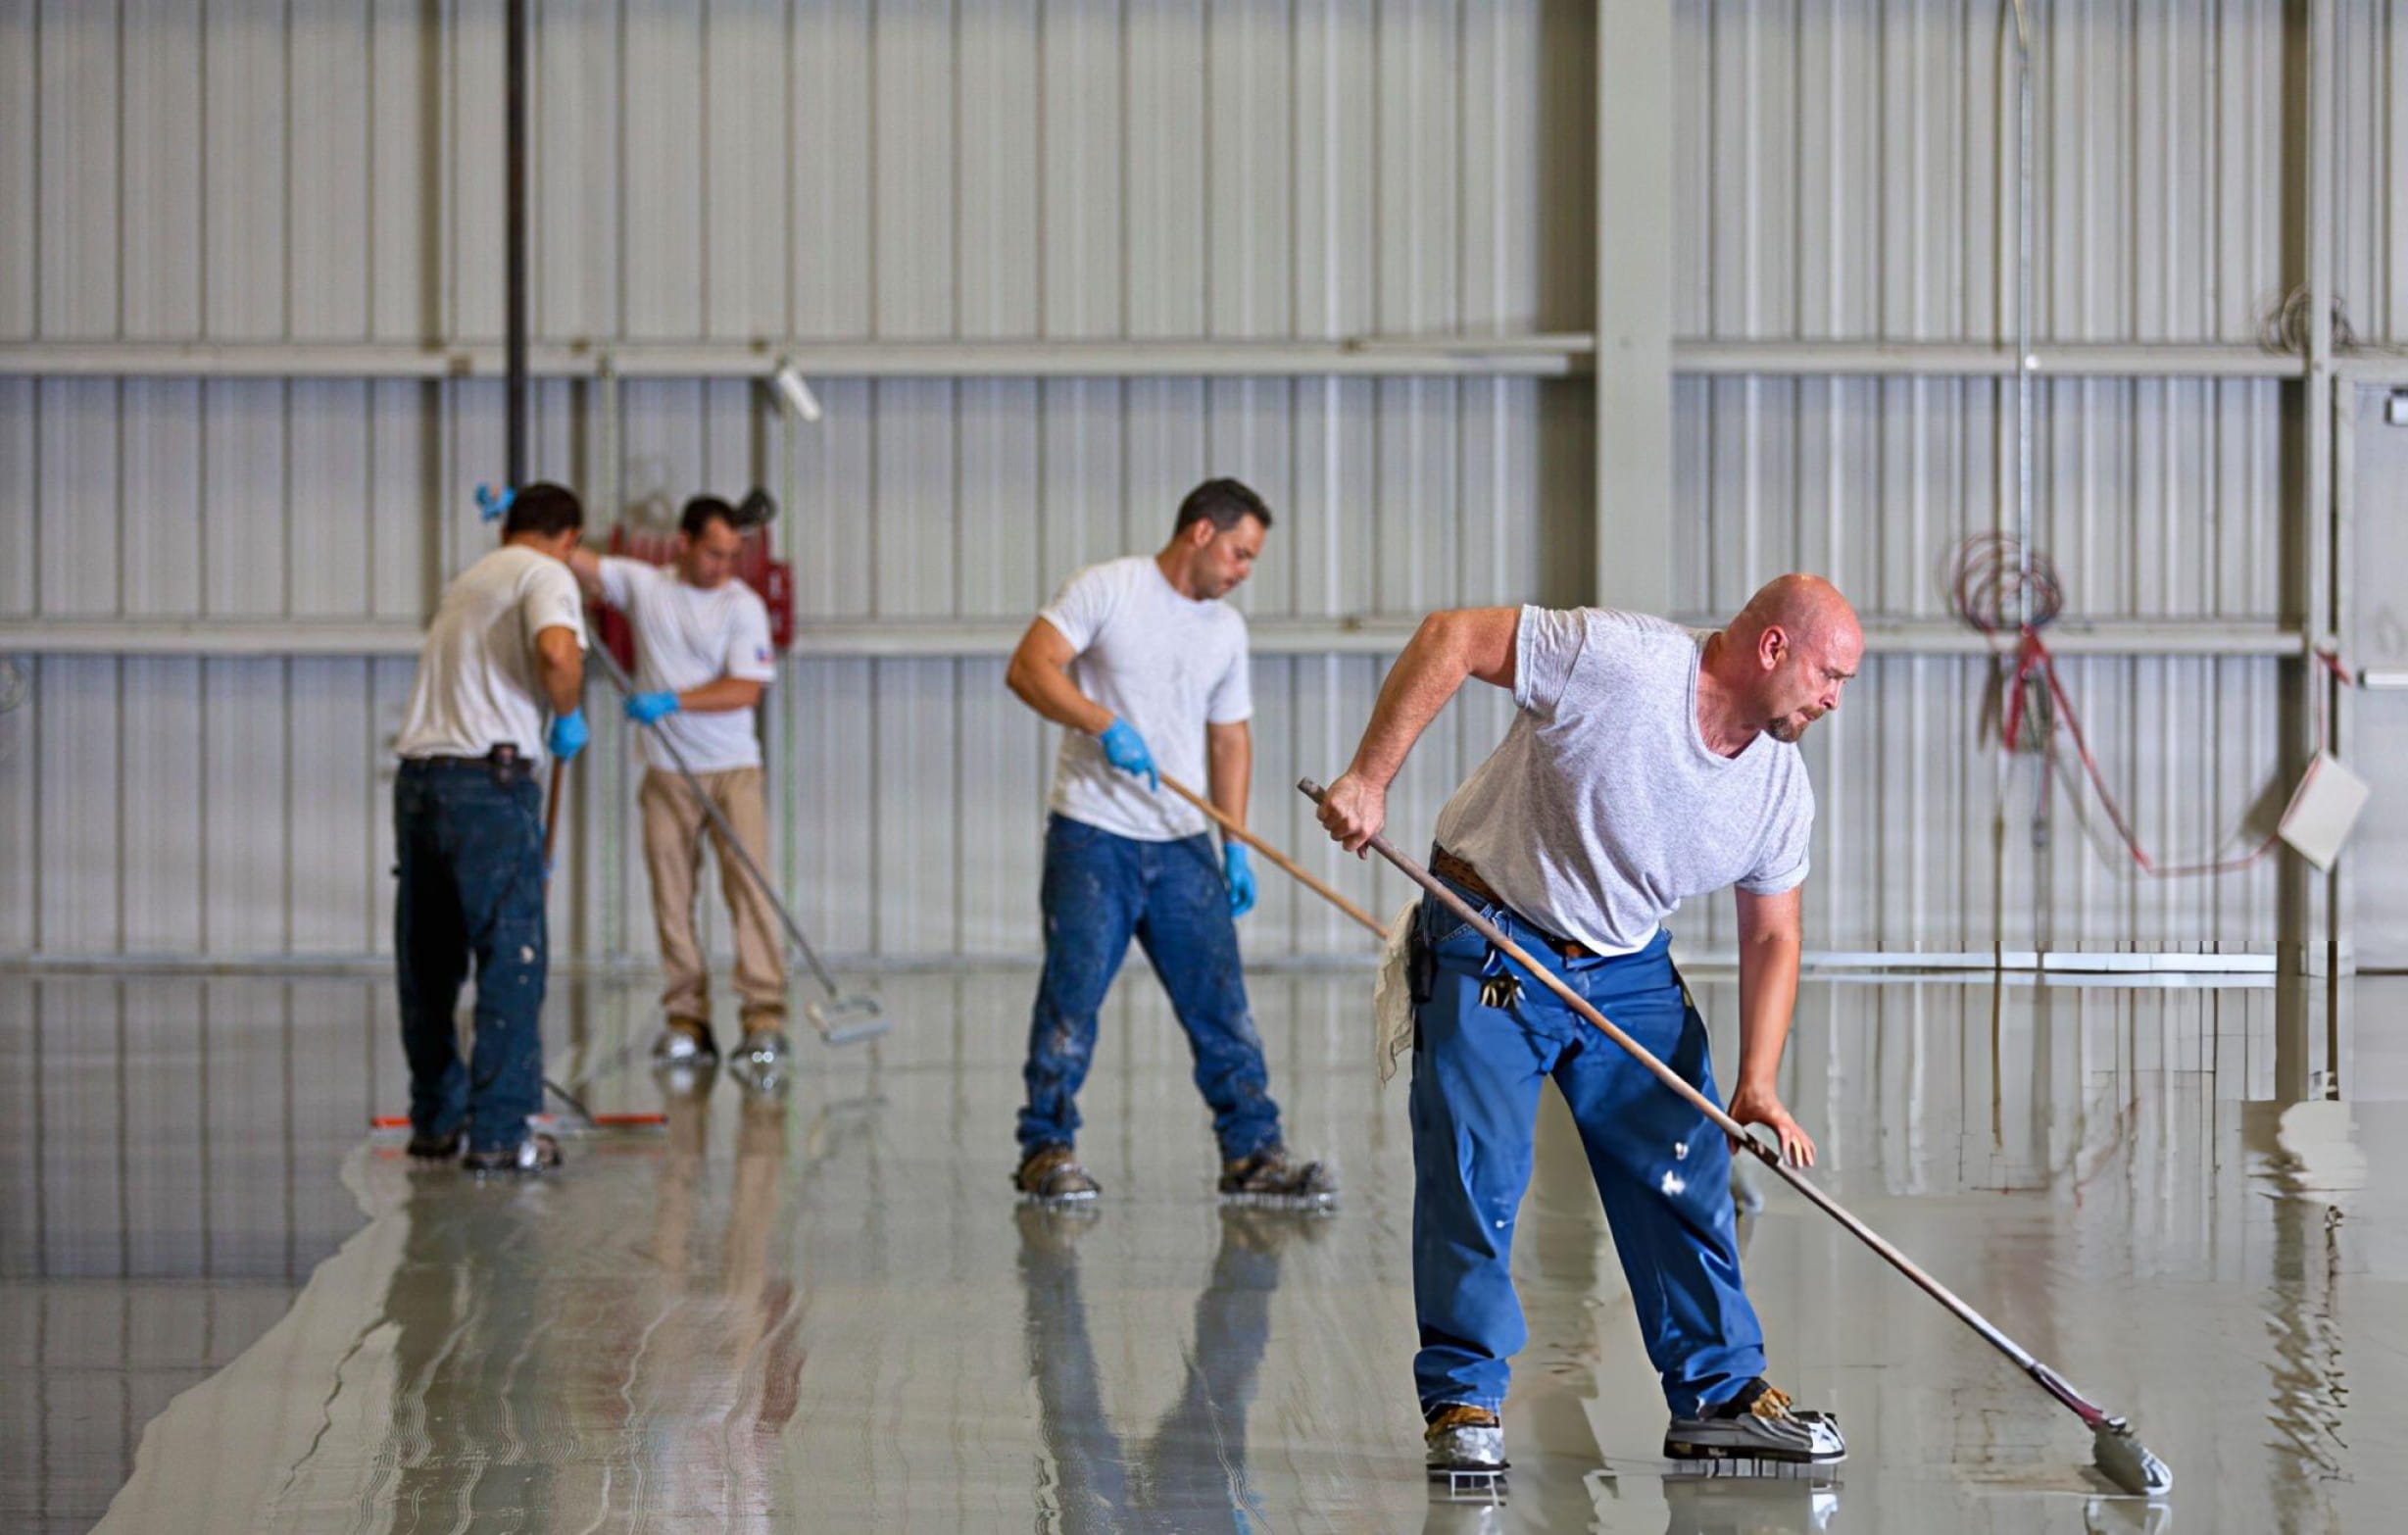
Epoxy floor paint looks simple enough to DIY, and for a small, low-traffic area it often is. Where professional application earns its cost back is in consistency, especially over a larger area. Colour and sheen can vary noticeably between tins from different batches, so professional installers blend multiple tins together before application rather than working straight from each new one, which is the single biggest reason DIY jobs end up with visible colour banding across a garage floor.
Timing matters just as much. With roughly 20 minutes of working time once mixed, and an ambient temperature window of about 15°C to 28°C for a clean cure, someone working solo on a large area can run out of time before the far end of the room is coated, leading to roller marks, lap lines, or a patchy sheen where wet epoxy meets epoxy that’s already started to set.
Epoxy resins and hardeners are classified as hazardous chemicals under Australian workplace safety law. Skin contact and inhaled fumes are the main risks during mixing and application, so gloves, eye protection, and good airflow through the space aren’t optional extras, even for a weekend DIY job.
Professional installers also carry the right epoxy coating for the substrate and the conditions on the day, rather than a single generic product, and they know how to read a slab that looks fine but isn’t ready. When you’re comparing quotes, checking for trade association membership, such as with the Master Painters Australia Queensland and Northern Territory chapter, is a reasonable way to gauge how seriously a business takes the trade.
Epoxy Floor Paint: Cost, Services, and Care
A few more practical details help you plan the job and keep the floor looking good afterwards.
Epoxy Floor Paint Cost in Townsville
Materials alone for a water-based, solid-colour epoxy floor paint typically run somewhere between $7 and $10 per square metre for a standard two-coat application, based on current retail kit pricing across Australian suppliers. That’s the DIY-kit price, though, and it doesn’t include surface preparation, primer if the slab needs it, or labour.
Professionally applied, factoring in prep, priming where required, and installation, the job generally lands somewhere between $40 and $70 per square metre for a standard garage or workshop floor in Townsville. Larger areas or slabs needing more preparation, cracks, old coatings, or heavy contamination, sit toward the higher end. A full flake or quartz broadcast system costs more again, since it uses more product and more labour, so if your budget is tight and the floor won’t see heavy daily abuse, this is usually the better starting point.
The only way to get an exact figure is a site visit, since slab condition affects the quote more than the colour or finish you choose.
Epoxy Floor Paint Services
We apply epoxy floor paint across a range of spaces, each with slightly different demands:
Garage and carport floors, where oil resistance and easy cleaning matter most
Workshops and sheds, often paired with an anti-slip additive
Laundries, rumpus rooms, and other indoor living areas
Small showrooms and retail spaces wanting a bright, seamless finish
Line marking and safety zones within a larger coated area
For larger commercial jobs or floors that need to handle more than everyday household wear, a full concrete floor epoxy coating system is usually a better fit than paint alone, and we’re happy to talk through which approach suits your space during a site visit.
Epoxy Floor Paint Replacement
Epoxy floor paint doesn’t usually need full replacement so much as a recoat, since the coating is thinner than a full build system and naturally wears faster in high-traffic spots. Once the colour has thinned unevenly, the sheen has gone patchy across large areas, or the surface has started chalking from UV exposure, a fresh coat over properly prepared existing epoxy is often enough.
Full removal becomes necessary when the coating is peeling or delaminating in sheets rather than just wearing thin, which usually points back to inadequate surface preparation or a moisture problem in the slab that was never addressed. In that case, grinding back to bare concrete and starting again, sometimes stepping up to a full cement floor epoxy coating system rather than paint alone, gives a more durable result the second time around.
Epoxy Floor Paint Repair
Small scuffs and light wear patches are straightforward to touch up, provided you kept a record of the original product and colour. Because epoxy floor paint is a thin film, patch repairs are more visible than they would be on a thicker, trowelled system, so a full recoat of the affected area, wall to wall or edge to edge, usually blends in better than a small spot fix.
Peeling or bubbling is a different problem and worth investigating before repairing. If it’s isolated to one area, it often traces back to a contamination spot, oil, wax, or a sealer, that stopped the epoxy from bonding properly during the original application. Grinding back that section, correcting the cause, and recoating fixes it properly rather than papering over a problem that will likely resurface.
Epoxy Floor Paint Maintenance
Epoxy floor paint is genuinely low-maintenance day to day. Regular sweeping stops grit from scratching the surface, and a mop with warm water and a pH-neutral cleaner handles most spills and general dirt. Avoid harsh acidic or ammonia-based cleaners, since they dull the sheen over time and shorten the coating’s working life.
Because the film is thinner than a full epoxy system, high-wear paths, in front of a workbench, under a car’s regular parking spot, tend to show wear sooner. Rotating where you park, using mats in heavy-use zones, and planning on a fresh topcoat every three to five years in a busy garage keeps the floor looking new rather than patchy.
Common Questions About Epoxy Flooring
Most questions we get about epoxy flooring come down to one thing: will it actually hold up. For garages and workshops with moderate use, it holds up well, resisting oil, coolant, and general wear far better than bare or painted concrete floors. Where it has real limits is heavy, constant abrasion, like a busy commercial workshop with forklifts or pallet jacks, where a thicker, trowelled system is the better long-term choice.
Odour is a common concern, particularly for anyone coating an attached garage or an indoor space. The water-based version produces a noticeably milder smell than solvent-based products and cleans up with just water, which is why it’s the more popular choice for occupied homes. Solvent-based products generally need more ventilation and a longer period before the space is comfortable to spend time in.
UV exposure trips a lot of people up. Standard epoxy floor paint isn’t UV stable on its own, whether water-based or solvent-based, so a slab that sees direct sun, an alfresco area or an open-sided carport, will chalk and discolour over time unless it’s finished with a UV-stable polyurethane or polyaspartic topcoat. For a straightforward indoor garage or living space, that extra step usually isn’t necessary.
People also ask about slip resistance, particularly for wet areas or covered outdoor spaces. A glossy finish can be slippery when wet, and for spaces that need to meet a certified slip rating under AS 4586, a broadcast anti-slip additive needs to go into the final coat rather than being treated as optional.